
I thought I would show you my process of how I gift wrapped a present for my dear coworker, Kristen. She reads my blog, but is not a blogger herself, so I'm sure she will appreciate this little shout out. :)
Painted Boxes:
Now this is the first year I've done this, but I'm definitely letting this idea stay for gift giving year around.
Here's the steps I took:
1. Find boxes.
I've wrapped all my gifts this year in plain winter white boxes. (Gift bags eat my dust.) I would recommend white boxes for this project just to have a clearer effect, but I'm sure with any colored box will do if you use the correct corresponding paint.
2. Before you assemble the boxes you will need to set them out on a clean surface for painting.
3. Add the wow factor.
Y'all, only Martha could come up with this ingenuous tool I have dubbed the "wood grainer." It looks like a mix between a sponge roller and a massage tool but the effect it leaves is AMAZEBALLS.


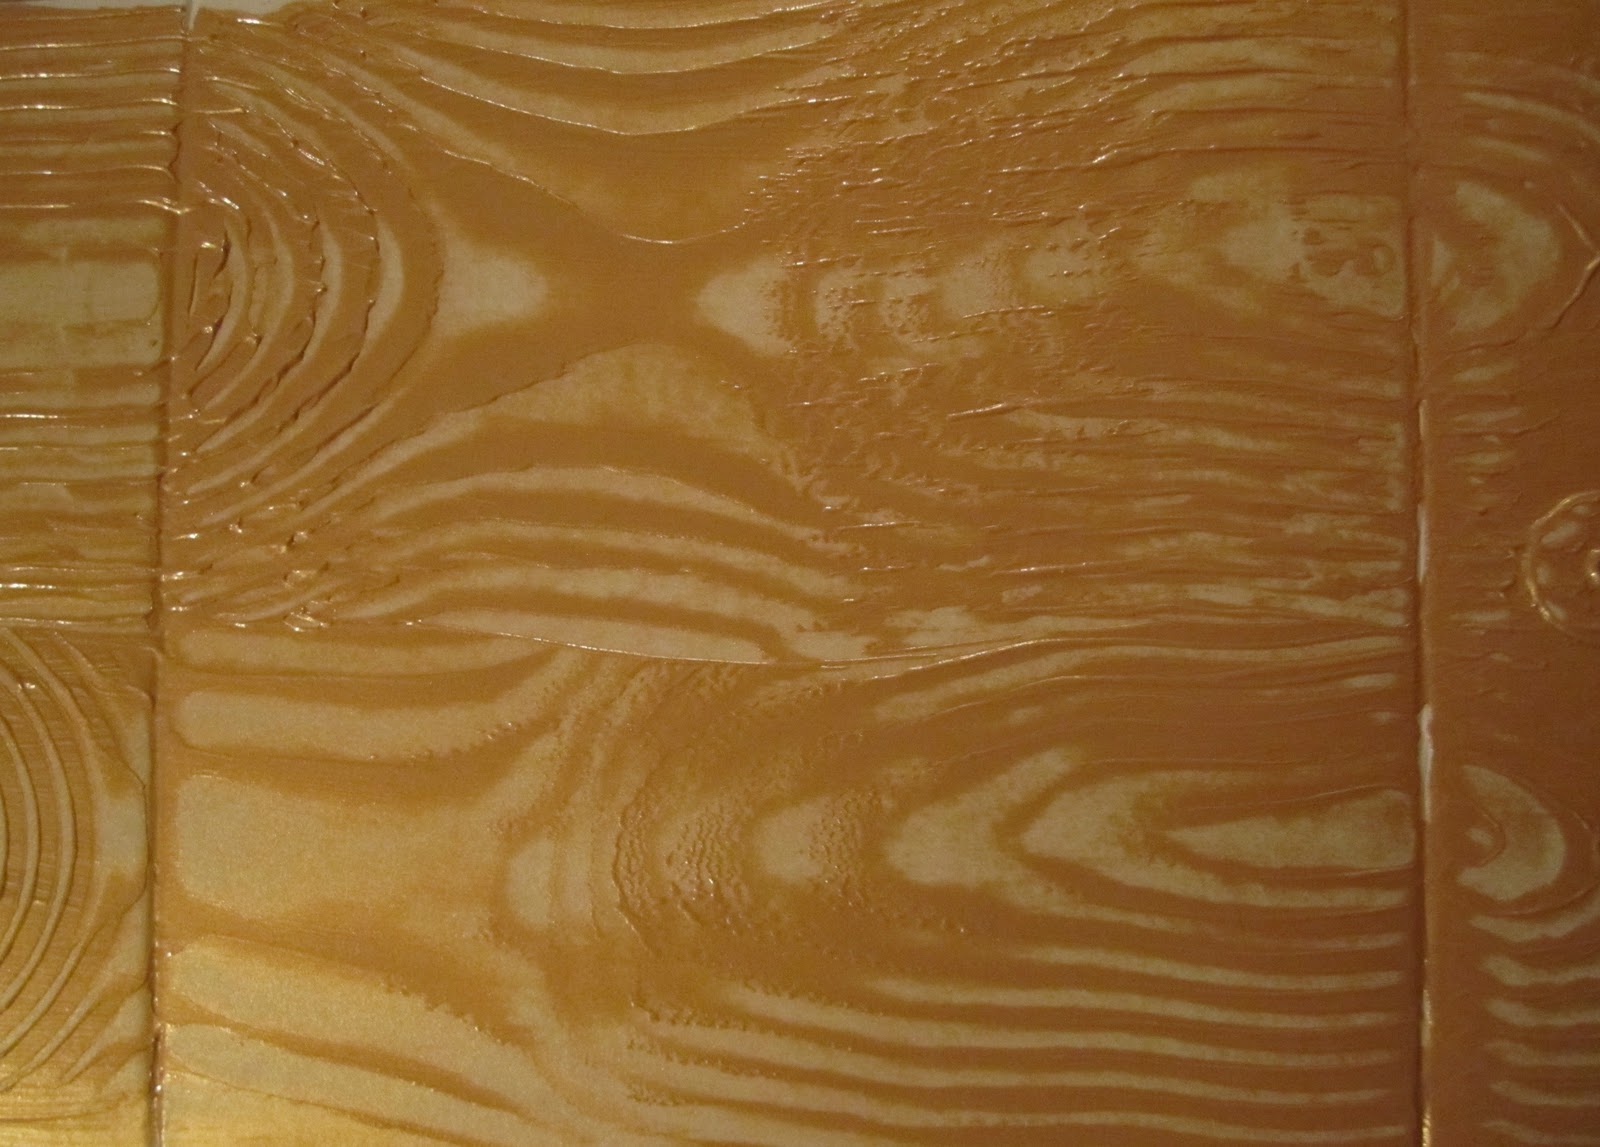
Like I said. AMAZEBALLS.
Stamped Tags
I love this because it's cheap, simple and little children can do it.
Steps I take:
1. Find plain manila tags.
2. Add the wow factor.
3. Using stamps, flocking powder (which makes the stamp images fuzzy), glitter, etc. make a one of a kind tag that people will never want to rip off and throw away.
I found this owl stamp at Michael s for a dollar, and using the saying I found from my Target wrapping paper, I made a pretty nifty gift tag.

Yarn Ribbons
I've purchased all kinds of real fancy ribbon in the past just to see it make one bow on one gift. Since I'm not a millionaire, I've realized that beautiful luxury must be put out to pasture until momma gets paid more money.
Steps I take:
1. Find different colored yarn. This can be simple really since great places like Hobby Lobby sells it for relatively cheap. I think the stuff i bought was $3.To go with the gold, I picked purple yarn. (I'm sure all the LSU fans will love that!)
2. Add the wow factor.
5. You can either braid the yarn, wrap the yarn around the package in the cross motion a few times, etc.
6. For a crafty bow, I make yarn pom poms by stretching out my thumb and pointer finger and wrapping it several times within the space.

8. Take scissors and cut the ends of each section where it forms a loop and start spacing the pieces around to make your bow.

And here's all three things as a finished product.
xoxo,

2 comments:
cute :)
Love it all! Especially the gift tag.
Post a Comment